

Helmet Maintenance: How to Clean Your Motorcycle Helmet and More
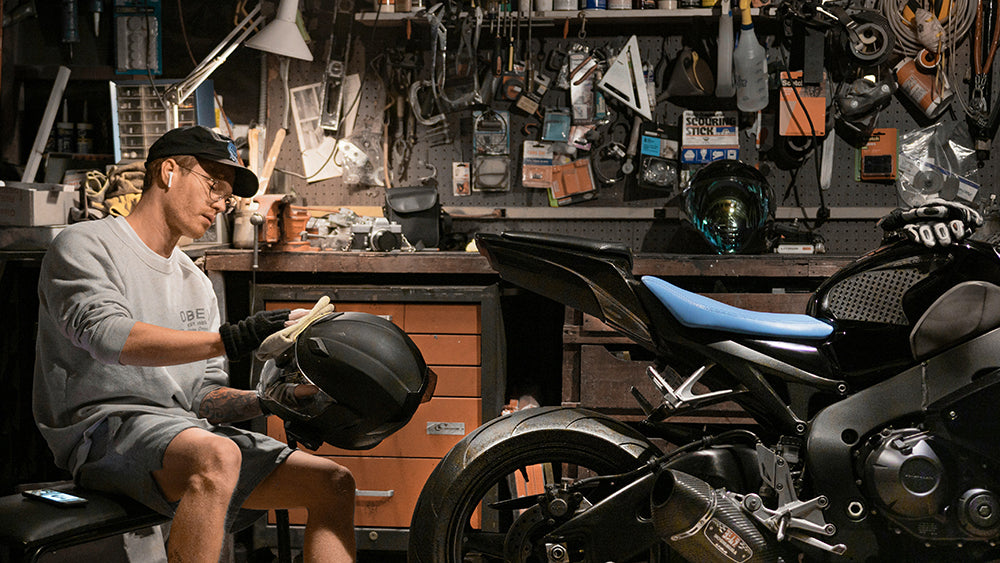
Every ride begins with a simple act of protection: donning your motorcycle helmet. This crucial piece of gear is your first line of defense on the open road, safeguarding you from potential impacts, debris, and the elements. But beyond its protective shell and cushioning interior lies a responsibility every rider shares—regular helmet maintenance. At Sprocketz, we understand the bond between a rider and their helmet. It's not just about safety; it's about preserving the very asset that keeps you riding confidently day after day.
Maintaining your motorcycle helmet isn't just about keeping it clean; it's about ensuring it performs at its peak for every ride. Whether you're a seasoned rider or new to the thrill of motorcycling, this guide will walk you through the essential steps of helmet care. From cleaning to storage, we'll cover everything you need to keep your helmet in top condition, ensuring it continues to provide the protection you rely on.
Join us as we delve into the world of motorcycle helmet maintenance, where every detail matters. With expert tips, recommended products, and practical advice, you'll discover how simple practices can extend the life of your helmet, enhance your riding experience, and, most importantly, keep you safe on the road.
Understanding Your Helmet
Before diving into the nitty-gritty of helmet maintenance, it's crucial to understand the components that make up your helmet and the materials from which they're crafted. A motorcycle helmet consists of several key parts, each requiring specific care to ensure optimal performance and longevity.
Outer Shell
A motorcycle helmet's outer shell materials are the riders first line of defense, made from materials like polycarbonate, fiberglass, or carbon fiber, is designed to distribute impact energy and protect against penetration.
EPS Liner
Beneath the outer shell lies the Expanded Polystyrene (EPS) liner, a foam layer that absorbs impact energy, cushioning your head in the event of a collision.
Comfort Liner

This soft, cushioned layer sits closest to your head, enhancing fit and comfort. It's often removable and washable, made from moisture-wicking fabrics to keep you dry.
Visor
The visor, or face shield, protects your eyes from wind, debris, and UV rays. It may feature treatments for anti-fogging and scratch resistance.
Ventilation System
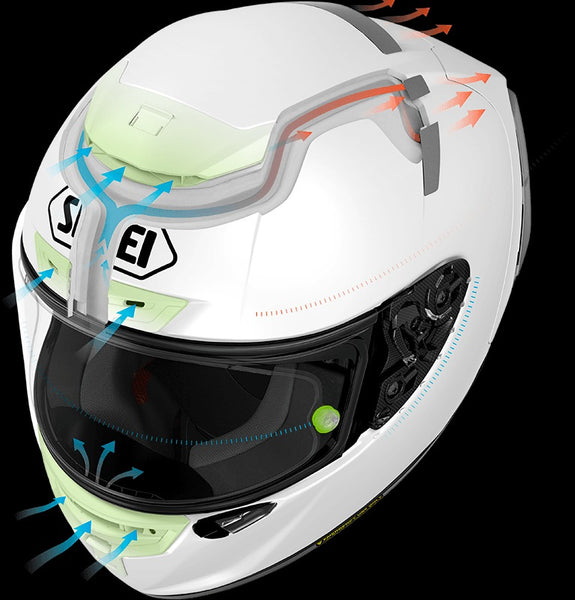
Vents and exhausts facilitate airflow, keeping you cool and reducing fogging. Proper care ensures these remain clear and functional.
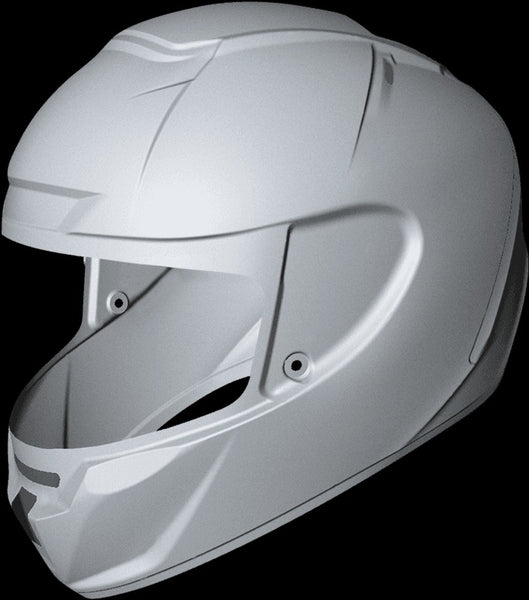
Retention System
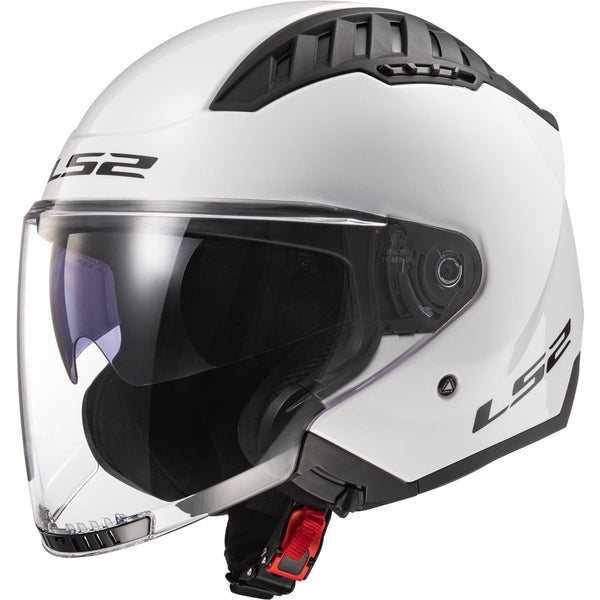
Pictured: LS2 Copter Open Face & 3/4 Helmet
Typically a chin strap, ensures your helmet stays securely in place. The strap and its mechanisms need to be regularly inspected for wear and tear.
Understanding these components is the first step in effective helmet maintenance. Different materials may require specific care techniques, which we'll cover in the following sections. For instance, cleaning a polycarbonate shell might differ slightly from caring for a carbon fiber one, just as treating a Pinlock-equipped visor requires particular attention to avoid damaging its anti-fog properties.
By familiarizing yourself with your helmet's anatomy and materials, you're better equipped to undertake its care, ensuring it remains a reliable companion on every ride.
Exterior Helmet Care
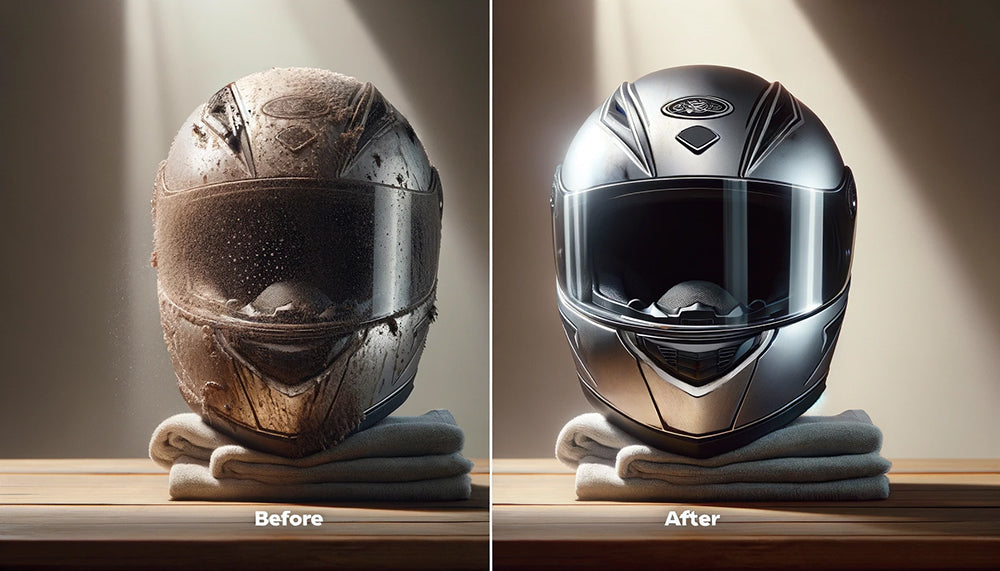
Keeping the exterior of your motorcycle helmet clean is not just about aesthetics; it's about maintaining the helmet's integrity and ensuring clear visibility. Dirt, bugs, and road grime can wear down the helmet's surface and obscure your vision if not regularly cleaned. Here's how to keep your helmet looking and functioning like new:
Step 1: Preparation
- Begin by gently removing any accessories or removable parts from your helmet, such as Bluetooth devices, camera mounts, or decorative elements. This ensures you can clean every nook and cranny without damaging these items.
Step 2: Initial Rinse
- Lightly rinse the helmet with lukewarm water to soften and remove loose dirt and debris. Avoid using hot water, as it can damage the helmet's finish and adhesives.
Step 3: Apply Cleaner
- Use a helmet-specific cleaner or a mild soap solution (pH neutral) to clean the helmet's exterior. Helmet cleaners are formulated to be safe on various helmet finishes and materials. Spray or apply the cleaner with a soft microfiber cloth, avoiding direct application on air vents and openings.
Step 4: Gentle Scrub
- With a soft, damp sponge or microfiber cloth, gently scrub the helmet's surface in a circular motion. For stubborn grime or bug residue, let the cleaner sit for a few minutes before scrubbing. Avoid abrasive tools that can scratch the helmet's finish.
Step 5: Rinse and Dry
- Rinse the helmet thoroughly with lukewarm water to remove all soap residues. Then, use a clean, soft microfiber towel to pat the helmet dry. Allow it to air dry completely in a shaded, well-ventilated area. Avoid direct sunlight or heat sources, as they can damage the helmet.
Step 6: Wax or Polish (Optional)
- For added protection and shine, apply a helmet-specific wax or polish following the product's instructions. This step is optional but can help protect the helmet's finish and make future cleaning easier.
Product Recommendations:
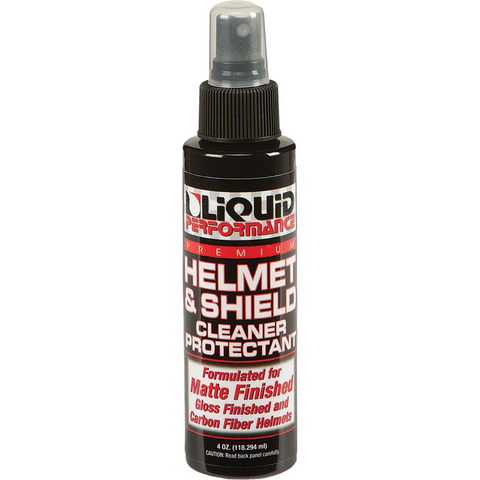
- Liquid Performance Helmet & Shield Cleaner: Safe for all helmet types, this cleaner effectively removes dirt without damaging the helmet's surface.
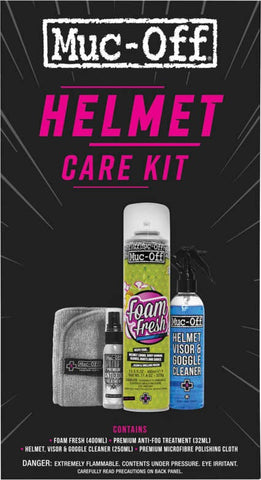
- Muc-Off Helmet Care Kit: Foam Fresh, Visor Cleaner, Premium Anti-Fog Treatment and a Micro Fiber Cloth
- Microfiber Cloths: Essential for gentle cleaning and drying without leaving scratches or lint.
Tips from Helmet Care Brands:
- Always test cleaning products on a small, inconspicuous area of the helmet first to ensure they do not damage the finish.
- Regular cleaning not only keeps your helmet looking great but can also extend its lifespan by preventing material degradation.
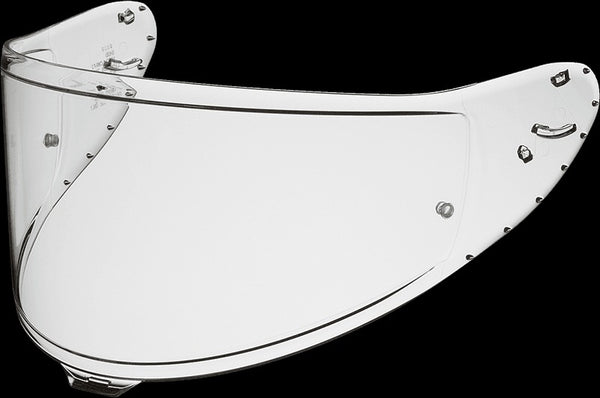
Visor Care
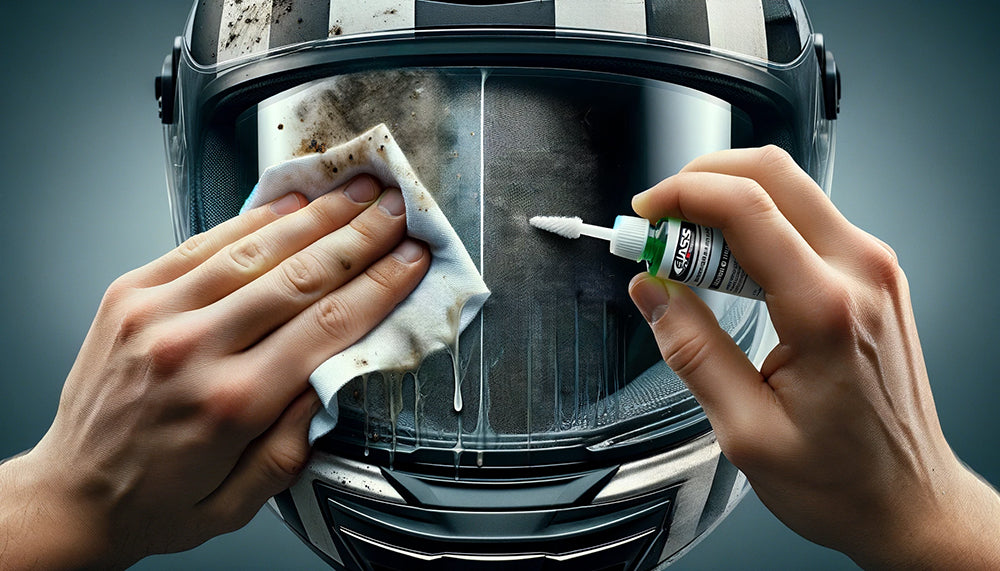
A clear visor is paramount for safe riding, offering protection against the elements and ensuring optimal visibility. Here's how to maintain your visor, including steps for cleaning and applying anti-fog treatments:
Step 1: Removal and Initial Rinse
- Carefully remove the visor from your helmet according to the manufacturer's instructions. Rinse it under lukewarm water to remove any loose dirt, ensuring not to scratch the surface.
Step 2: Cleaning Solution Application
- Apply a visor-specific cleaner or a mild soap solution to the visor. For a DIY approach, a mixture of baby shampoo and water is gentle yet effective. Use a soft microfiber cloth to apply the solution, avoiding harsh chemicals that can damage anti-fog coatings or the visor's material.
Step 3: Gentle Cleaning
- With a clean, soft microfiber cloth, gently wipe the visor in a circular motion. Pay special attention to areas with bug splatter or road grime. For stubborn spots, let the cleaning solution sit for a few minutes before wiping.
Step 4: Drying
- Rinse the visor thoroughly with lukewarm water to remove all traces of the cleaning solution. Carefully dry it with a clean, soft microfiber towel. Avoid using heat or leaving it in direct sunlight, as this can damage the visor.
Step 5: Anti-Fog Treatment Application
- Once the visor is clean and dry, apply an anti-fog treatment if your visor isn't already equipped with a built-in solution like Pinlock. Follow the product's instructions carefully to ensure maximum effectiveness.
Step 6: Reinstallation
- Reattach the visor to your helmet, ensuring it's securely fastened and free of any streaks or fingerprints.
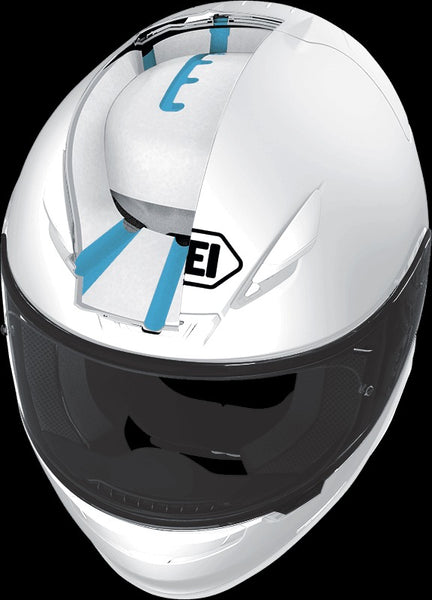
Discussion of Technologies like Pinlock:
- Pinlock is a revolutionary anti-fog technology that uses a physical barrier—a Pinlock insert—to prevent fogging. This insert, which attaches to the inside of your visor, creates an air-tight chamber that insulates the interior from the colder exterior, effectively preventing fog. When cleaning your visor, be mindful of the Pinlock edges to avoid dislodging or damaging the seal.
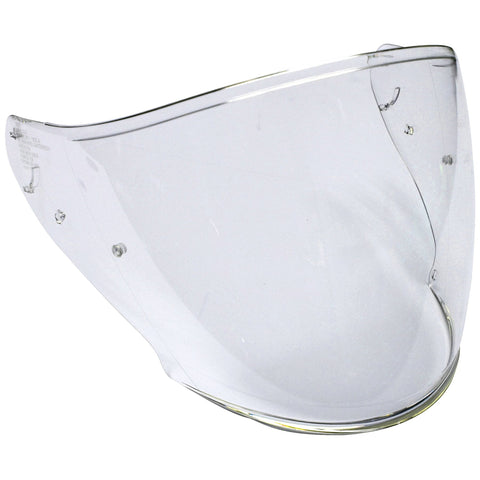
Pictured: Shoei CJ-2 Pinlock Shield
Product Recommendations:
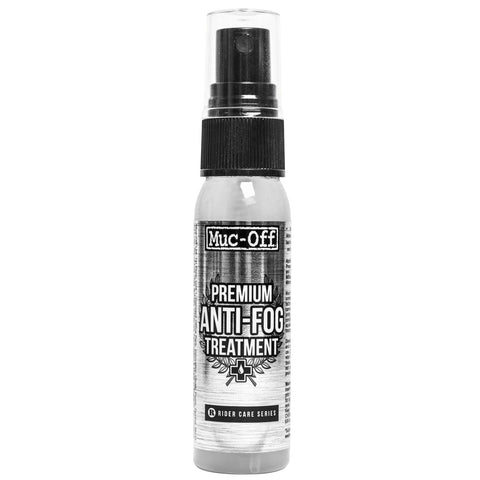
- Muc-Off Premium Anti-Fog Treatment: Utilizes cutting edge moisture absorption technology, with anti-mist formula that creates a transparent, micro-thin coating to keep your goggles or glasses from fogging up.
- Microfiber Cloths: Essential for cleaning and drying without scratching the visor.
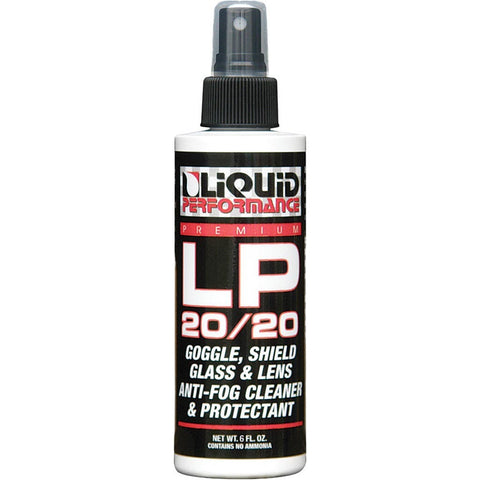
- Liquid Performance Anti-Fog Cleaner & Protectant: For visors without built-in anti-fog technology, consider products like Sprocketz ClearSight Anti-Fog Spray for lasting clarity.
Maintenance Tips:
- Regularly inspect your visor for scratches or damage that can impair visibility. Minor scratches can sometimes be polished out, but significant damage often necessitates a replacement.
- Handle the visor by its edges to minimize contact with the surface, reducing the risk of fingerprints and scratches.
Interior Cleaning
The interior of your motorcycle helmet can accumulate sweat, oils, and dirt over time, leading to unpleasant odors and potential degradation of the materials. Follow these steps to keep the inside of your helmet fresh and clean:
Step 1: Removal of Interior Components
- Begin by carefully removing the helmet's interior components, such as the cheek pads and liner, if they're designed to be removable. Consult your helmet's manual to ensure you're detaching these parts correctly.
Step 2: Preparing for Cleaning
- If the interior components are washable, prepare a mild soap solution using a helmet interior cleaner or baby shampoo. These products are gentle on the materials used inside your helmet and effective at removing oils and odors.
Step 3: Hand Washing
- Submerge the cheek pads and liner in the soap solution, gently massaging the fabric to work out the dirt and sweat. Avoid using hot water, as it can damage the materials or cause them to shrink.
Step 4: Rinsing
- Rinse the components thoroughly with lukewarm water until all soap residue is removed. It's crucial to ensure no soap is left behind, as it can irritate the skin.
Step 5: Drying
- Gently squeeze out excess water from the pads and liner, then let them air dry completely in a well-ventilated area away from direct sunlight. Do not use a dryer or expose them to high heat, as this can damage the materials.
Step 6: Cleaning Non-Removable Interiors
- For helmets with non-removable interiors, use a damp cloth with a mild soap solution to gently wipe down the inside. You can also use a helmet interior spray cleaner designed for this purpose. After cleaning, wipe the interior with a damp cloth to remove soap residue and allow it to air dry completely.
Product Recommendations:
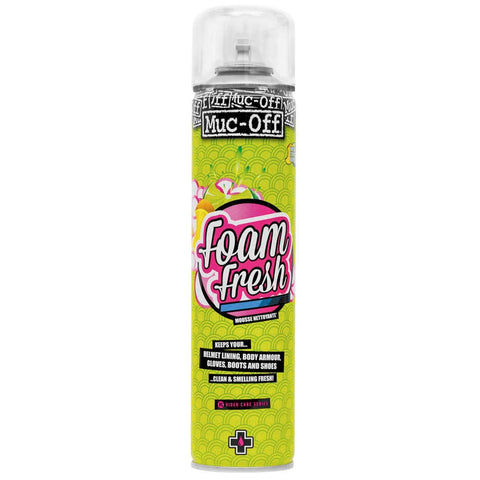
- Helmet Interior Cleaner: Products like Muc-Off Foam Fresh are specifically formulated to clean and deodorize helmet interiors without damaging the fabric.
- Microfiber Cloths: Soft and absorbent, ideal for cleaning and drying the interior surfaces.
- Helmet Deodorizer: For a quick refresh between deep cleans, consider using a helmet deodorizing spray that's safe for helmet interiors.
Maintenance Tips:
- Regularly cleaning the helmet's interior not only keeps it smelling fresh but also extends the life of the materials.
- Consider using a helmet liner or skull cap to reduce direct contact between your head and the helmet's interior, making it easier to keep clean.
Helmet Storage and Regular Inspection
Proper Helmet Storage
Storing your helmet correctly is essential to maintain its shape, materials, and functionality. Follow these tips to ensure your helmet is stored safely:
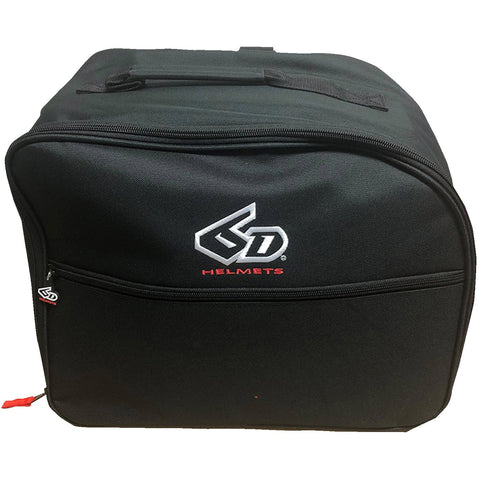
Pictured: 6D Helmets Helmet Bag
-
Use a Helmet Bag: Store your helmet in a protective bag to shield it from dust and accidental scratches. Many helmets come with a bag designed for this purpose.
-
Cool, Dry Place: Keep your helmet in a cool, dry area away from direct sunlight and extreme temperatures, which can degrade the helmet materials over time.
-
Avoid Pressure: Don't hang your helmet on a motorcycle mirror or any hook that puts pressure on the interior padding. Instead, place it on a flat surface or a proper helmet stand that supports it evenly.
-
Away from Chemicals: Store your helmet away from gasoline, cleaning agents, and exhaust fumes, as these can deteriorate the helmet's materials.
Regular Helmet Inspection
Frequent inspections are key to identifying potential issues that could compromise the helmet's protective capabilities:
-
Check the Shell: Look for cracks, abrasions, or any signs of damage to the outer shell. Even small cracks can significantly reduce the helmet's effectiveness in a crash.
-
Inspect the Interior: Examine the EPS liner for signs of compression or damage. Remember, the liner is designed to compress during an impact, so if it's already compressed, it won't provide adequate protection.
-
Review the Visor: Ensure the visor is clear and free from scratches that impair vision. Also, check that the visor seal is intact to prevent water ingress.
-
Test the Retention System: The chin strap and its fastening system should be in good working order. Any fraying, tears, or malfunctioning mechanisms require immediate attention.
-
Look for Wear and Tear: Regular wear can affect the helmet's safety features. If the helmet has been dropped or involved in an impact, it's advisable to replace it, even if no damage is visible.
When to Replace Your Helmet
A motorcycle helmet is your most critical piece of safety equipment. Over time, wear, tear, and exposure to the elements can degrade its protective capabilities. Recognizing when it's time to replace your helmet is essential for maintaining optimal safety on the road. Here's what you need to know:
Manufacturer's Recommendations
Most helmet manufacturers suggest replacing your helmet every 3 to 5 years, depending on usage. The materials used in helmet construction, such as the EPS liner and the adhesives that hold the layers together, can deteriorate over time, even if the helmet hasn't been involved in a crash.
After an Impact
If your helmet has been involved in an impact, it should be replaced immediately. Motorcycle Helmets are designed to absorb energy once. Even if there are no visible signs of damage, the integrity of the helmet may be compromised, reducing its effectiveness in future impacts.
Visible Signs of Wear and Tear
Regular inspection can reveal signs that it's time for a new helmet:
- Cracks or dents in the outer shell.
- Compression of the EPS liner.
- Wear or fraying of the straps.
- Malfunctioning retention system or closure mechanisms.
Changes in Fit
Over time, the padding inside the helmet can compress, altering the fit. A helmet that no longer fits snugly can compromise safety by increasing the risk of the helmet coming off in a crash. If your helmet feels looser than when it was new, consider replacing it. Visit Sprocketz and speak to one of our techs about helmet sizing and ensuring a proper fit.
Guidance from Safety Organizations
Safety organizations like the Snell Memorial Foundation and the Department of Transportation (DOT) provide guidelines on helmet safety and replacement. Adhering to their recommendations ensures you're following best practices for motorcycle safety.
RELATED POST: The Ultimate Guide to Understanding DOT, SNELL, and ECE Motorcycle Helmet Ratings
Advancements in Helmet Technology
Helmet technology is continually evolving, with new materials and safety features being introduced. Upgrading to a newer model can provide enhanced protection, comfort, and features like better ventilation, integrated communication systems, or improved visor technology.
Conclusion
Maintaining your motorcycle helmet is more than a chore; it's a critical step in ensuring your safety on every ride. Through this guide, we've seen how regular care extends the life of your helmet and maintains its protective capabilities. Simple acts of maintenance, from cleaning to inspection, can significantly impact your riding experience and safety.
Incorporate Helmet Care into Your Routine
Whether you're a new rider choosing their first motorcycle helmet or a seasoned rider, we encourage you to make helmet maintenance a regular part of your riding routine. A clean, well-cared-for helmet not only protects you better but also enhances your overall riding experience. Remember, a well-maintained helmet is your best ally on the road.
Your Safety, Our Commitment
At Sprocketz, your safety is our top priority. We're committed to providing you with the best products and knowledge to keep your helmet in prime condition. Whether you're looking for the right cleaning supplies or advice on when to replace your helmet, we're here to support you.
Join the Conversation
- Explore Sprocketz’s Range of Helmet Care Products: Discover our curated selection of cleaning supplies, maintenance tools, and more to keep your helmet in top shape.
- Share Your Helmet Care Tips: Got a tried-and-true helmet maintenance hack? Share it on social media and tag us! Let's spread the word on safe and smart helmet care together. #SprocketzRVA
Ride with Confidence
By embracing regular helmet maintenance, you ensure that your helmet is always ready to perform at its best. So, before you hit the road, take a moment to care for your helmet. It's not just about keeping it clean; it's about keeping you safe.


Leave a comment